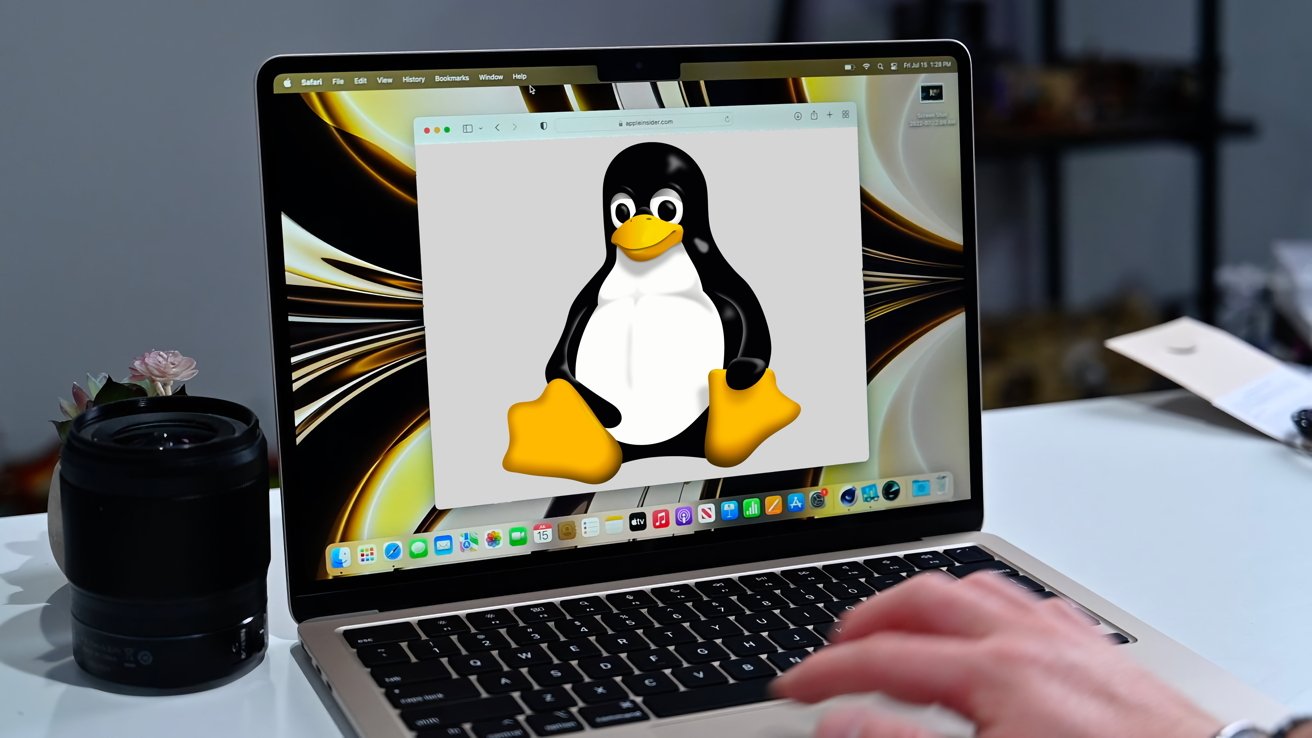
Project64 is a well-known emulator primarily designed for Windows that allows users to play Nintendo 64 (N64) games on their computers. It has gained popularity for its robust feature set and compatibility with a wide range of N64 titles. However, its native support is limited to the Windows operating system.Project64 is officially supported only on the Windows platform. This means that the developers have optimized the emulator to run efficiently on Windows-based computers. As of the latest updates, there is no official support for running Project64 on macOS (Mac operating system) or Linux distributions.
While Project64 is designed for Windows, users of macOS and Linux have explored various methods to run the emulator on their systems. These methods often involve using compatibility layers, virtual machines, or alternative emulators that are compatible with their respective operating systems.
Official Support for Project64
Project64 is officially supported on the Windows operating system. This means that the developers of Project64 have focused their efforts on optimizing the emulator to run seamlessly on Windows-based computers. Official support entails several vital aspects:
- Optimization: Project64 is optimized to take advantage of Windows-specific features, libraries, and APIs, ensuring efficient performance and compatibility with a wide range of Windows versions, from Windows 7 to Windows 10.
- Testing and Updates: The developers regularly test Project64 on various Windows configurations to identify and address issues. Updates and patches are released to improve stability, performance, and compatibility with new hardware and software updates from Microsoft.
- User Support: Official documentation, forums, and support channels primarily assist users running Project64 on Windows. This includes troubleshooting guides, FAQs, and community forums where Windows-specific issues are discussed and resolved.
Lack of Native Support for Mac and Linux
Despite its popularity and robust functionality on Windows, Project64 does not have native support for macOS (formerly known as Mac OS X) or Linux distributions. The reasons for this lack of native support include:
- Development Focus: The developers of Project64 have chosen to focus their development efforts on optimizing and maintaining compatibility with Windows. This focused approach allows them to deliver a stable and feature-rich experience for Windows users.
- Technical Challenges: Porting an emulator like Project64 to macOS or Linux involves overcoming significant technical challenges. These challenges include differences in system architectures, APIs, and graphics subsystems between Windows and Unix-based operating systems (macOS and Linux).
- Resource Constraints: Porting and maintaining compatibility across multiple operating systems requires additional resources, including development time, testing infrastructure, and ongoing support. The Project64 team may prioritize enhancing the Windows version due to resource limitations.
Community Efforts and Alternatives
Despite lacking official support, the community has explored alternative methods to run Project64 on macOS and Linux. These methods often involve compatibility layers such as Wine (on macOS and Linux) or virtual Windows machines. Additionally, alternative N64 emulators like Mupen64Plus offer native support for macOS and Linux, providing users with options to enjoy N64 games on these platforms.
Running Project64 on Mac
Wine is a compatibility layer that enables users to run Windows applications on Unix-like operating systems, including macOS. It translates Windows API calls into POSIX calls on the fly, allowing many Windows programs to run without needing a virtual machine or Windows installation.
Steps to Install Wine on Mac:
- Install Homebrew: Homebrew is a package manager for macOS. Open Terminal and run the following command to install Homebrew:
- bash
- Copy code
- /bin/bash -c “$(curl -fsSL https://raw.githubusercontent.com/Homebrew/install/HEAD/install.sh)”
- Install Wine: Once Homebrew is installed, you can install Wine by running the following command in Terminal:
- CSS
- Copy code
- brew install –cask wine-stable
- Configuration: After installation, you may need to configure Wine for optimal performance. This typically involves adjusting settings through Wine’s configuration tool, which you can access by running Winecfg in Terminal.
Configuring Wine to Run Project64:
- Download Project64: Obtain the Project64 installer or portable version from the official website or trusted sources.
- Install Project64: Right-click on the Project64 installer executable and select “Open with Wine” from the context menu. Follow the installation wizard as you would on a Windows PC.
- Running Project64: Once installed, you can run Project64 by navigating its installation directory (typically ~/.wine/drive_c/Program Files/Project64/) and launching the executable file (Project64.exe).
Potential Issues and Troubleshooting:
- Compatibility: Not all Windows applications run flawlessly with Wine. Check the WineHQ AppDB (Application Database) to see Project64’s compatibility rating and any reported issues.
- Performance: Emulation performance can vary depending on your Mac’s hardware and the complexity of the game being emulated. Adjust Wine settings and experiment with different configurations to optimize performance.
- Dependencies: Project64 may require additional libraries or configurations to function correctly under Wine. Follow error messages or consult community forums for specific troubleshooting steps.
Using Virtual Machines
Overview of Virtual Machine Software (e.g., VirtualBox, VMware): Virtual machine software allows you to create and run a virtualized instance of another operating system within macOS. Examples include:
- VirtualBox: Free and open-source virtualization software.
- VMware Fusion: Commercial virtualization software with enhanced features.
Steps to Install a Windows Virtual Machine on Mac:
- Choose Virtualization Software: Download and install your preferred virtual machine software (e.g., VirtualBox or VMware Fusion).
- Download Windows ISO: Obtain a Windows installation ISO file from Microsoft or use an existing disk.
- Create a New Virtual Machine: Open your virtualization software and create a new virtual machine. Follow the software’s wizard to set up the virtual machine, including allocating RAM and disk space and configuring network settings.
- Install Windows: Start the virtual machine and proceed with installing Windows using the ISO file you downloaded.
Installing and Running Project64 within the VM:
- Install Project64: Inside the Windows virtual machine, download and install Project64 as you would on a native Windows PC.
- Running Project64: Launch Project64 from the Windows virtual machine’s Start menu or desktop shortcut once installed.
Performance Considerations:
- Resource Allocation: Allocate sufficient RAM and CPU cores to the virtual machine to ensure smooth emulation performance.
- Graphics Acceleration: Enable 3D acceleration in your virtual machine settings to improve graphical performance within Project64.
- Storage: Use SSD storage for improved read/write speeds, which can benefit loading times and overall emulation performance.
Using Boot Camp
Explanation of Boot Camp for Dual-Booting Windows on Mac: Boot Camp is a utility built into macOS that allows you to partition your Mac’s hard drive and install Windows alongside macOS. This lets you choose which operating system to use when starting your Mac.
Steps to Set Up Boot Camp:
- Check System Requirements: Ensure your Mac meets Boot Camp and Windows installation requirements. You’ll need sufficient free space on your Mac’s hard drive.
- Prepare Installation Media: Download a Windows ISO file from Microsoft or use an existing Windows installation disk.
- Open Boot Camp Assistant: Launch Boot Camp Assistant from the Applications > Utilities folder. Follow the on-screen instructions to partition your hard drive and create a Boot Camp partition for Windows.
- Install Windows: Insert your Windows installation media and follow the prompts to install Windows on the Boot Camp partition.
Running Project64 on the Windows Partition:
- Install Windows: Complete the Windows installation process on your Boot Camp partition.
- Install Project64: Download and install Project64 within the Windows partition as you would on a typical Windows PC.
- Dual-Boot: Restart your Mac, and during startup, hold down the Option (Alt) key to choose between macOS and Windows. Select the Windows partition to boot into Windows and run Project64.
Note: When using Boot Camp, you run Project64 on a native Windows installation on your Mac, providing the best performance and compatibility compared to virtualization or compatibility layers.
These methods offer various approaches for Mac users to run Project64 and enjoy N64 games. Each has advantages in terms of performance, compatibility, and ease of setup. Choose the method that best suits your preferences and technical proficiency.
Running Project64 on Linux
Using Wine
Running Project64 on Linux can be achieved using Wine, a compatibility layer that allows Windows applications to run on Unix-like operating systems. Wine translates Windows API calls into POSIX calls, enabling many Windows programs to function without needing a virtual machine or a complete Windows installation. You can use their respective package managers to install Wine on popular Linux distributions like Ubuntu or Fedora. For example, you would add the architecture on Ubuntu, update the package list, and install Wine with commands like sudo dpkg –add-architecture i386, sudo apt update, and sudo apt install wine64 wine32. Once Wine is installed, you can download the Project64 installer or portable version, right-click on the installer executable, select “Open with Wine,” and follow the installation prompts on a Windows system. After installation, navigate to the Project64 installation directory within Wine (~/.wine/drive_c/Program Files/Project64/) to find and launch the executable (Project64.exe). Common issues when using Wine include compatibility problems and dependencies, which can be addressed by checking the WineHQ AppDB for Project64 and consulting community forums for troubleshooting tips.
Using Virtual Machines
Alternatively, running Project64 on Linux can be accomplished by setting up a Windows virtual machine using software like VirtualBox or VMware Workstation Player. These virtualization platforms allow you to create a virtual environment to install and run a complete Windows operating system. Download and install VirtualBox or VMware Workstation Player from their respective websites or your Linux distribution’s package manager. Next, acquire a Windows installation ISO from Microsoft or use an existing disk. Create a new virtual machine using the software’s setup wizard, allocating adequate resources such as RAM and disk space according to your needs. Install Windows within the virtual machine using the downloaded ISO, then proceed to download and install Project64 as you would on a physical Windows PC. Launch Project64 from within the virtual machine’s Windows environment to start playing N64 games. Consider optimizing performance by adjusting virtual machine settings, including enabling 3D acceleration for improved graphics performance and allocating sufficient resources to ensure smooth emulation.
Alternative Emulators
For Linux users seeking native solutions, alternatives like Mupen64Plus are viable. Mupen64Plus is an open-source N64 emulator explicitly designed for Linux, offering compatibility with a wide range of N64 games and supporting various plugins for enhanced functionality. Unlike running Project64 through Wine or a virtual machine, which may introduce performance overhead, native Linux emulators like Mupen64Plus are optimized to run directly on Linux distributions. Compare features such as compatibility with N64 titles, plugin support for audio and graphics, save state functionality, and performance metrics like emulation accuracy and frame rates. Depending on your preferences for compatibility, performance, and ease of use, choosing between Wine, virtual machines, or native Linux emulators like Mupen64Plus can provide a satisfying experience for playing Nintendo 64 games on Linux systems.
Conclusion
Running Project64 on Mac and Linux offers several routes: Mac users can opt for Wine for simplicity or Boot Camp for superior performance via a native Windows installation. For Linux users, Wine provides a straightforward option for compatibility, while virtual machines like VirtualBox or VMware offer robust performance with more setup complexity. Alternatively, native emulators such as Mupen64Plus on Linux ensure seamless integration and optimal performance. Depending on your preferences and technical comfort level, these choices provide varied pathways to enjoy Project64 and N64 games on non-Windows platforms, catering to different user needs and ensuring a satisfying gaming experience.

